Thursday, January 30, 2014

Staging - Using What You Have

Sometimes the people I have the opportunity to work with move into their next home before listing their current home.  That means that many of their possessions get moved out and pieces that don't work in their new place stay behind.  

That's where we come in!  

Check out how we prepared this house for the market by creatively using what was remaining in the home.

BEFORE

AFTER
For this living room, we pulled furniture from other spaces to give the room a sense of purpose. 


BEFORE


AFTER
We swapped out a bed from the spare room to give this master bedroom purpose and function.


BEFORE

AFTER
Smaller scale furniture and clean surfaces make this room look bigger and more inviting.


BEFORE

AFTER
A smaller bed in this room makes it feel more spacious (check out the hardwoods now).


We were busy in other rooms too...


In the end, after finding a perfect place for the art, accessories, and furniture, the house looked beautiful! 

Friday, January 24, 2014

Staging in the Kitchen


In real life, kitchens need toasters and microwaves and canisters of cooking utensils.  In real life, our kitchen counters are littered with yesterday's mail, bags of bread, and the milk we have yet to put back in the fridge.  However, when it comes to home staging, that all has to go away.  That's right...staging is NOT real life.

When I work with clients in kitchens, we're constantly finding a place for all the items that normally have a spot on the kitchen counter top.  We're putting it all away.  It's amazing how quickly a kitchen transforms when all the other (normal) distractions are out of site...

BEFORE

AFTER

BEFORE

AFTER

BEFORE

AFTER

BEFORE

AFTER

Counter tops that are clear and empty really show off a kitchen.  Now, when potential buyers view the home, they'll notice the spacious counter space, and not yesterday's mail.


Tuesday, January 14, 2014

Goodwill is Great for Staging


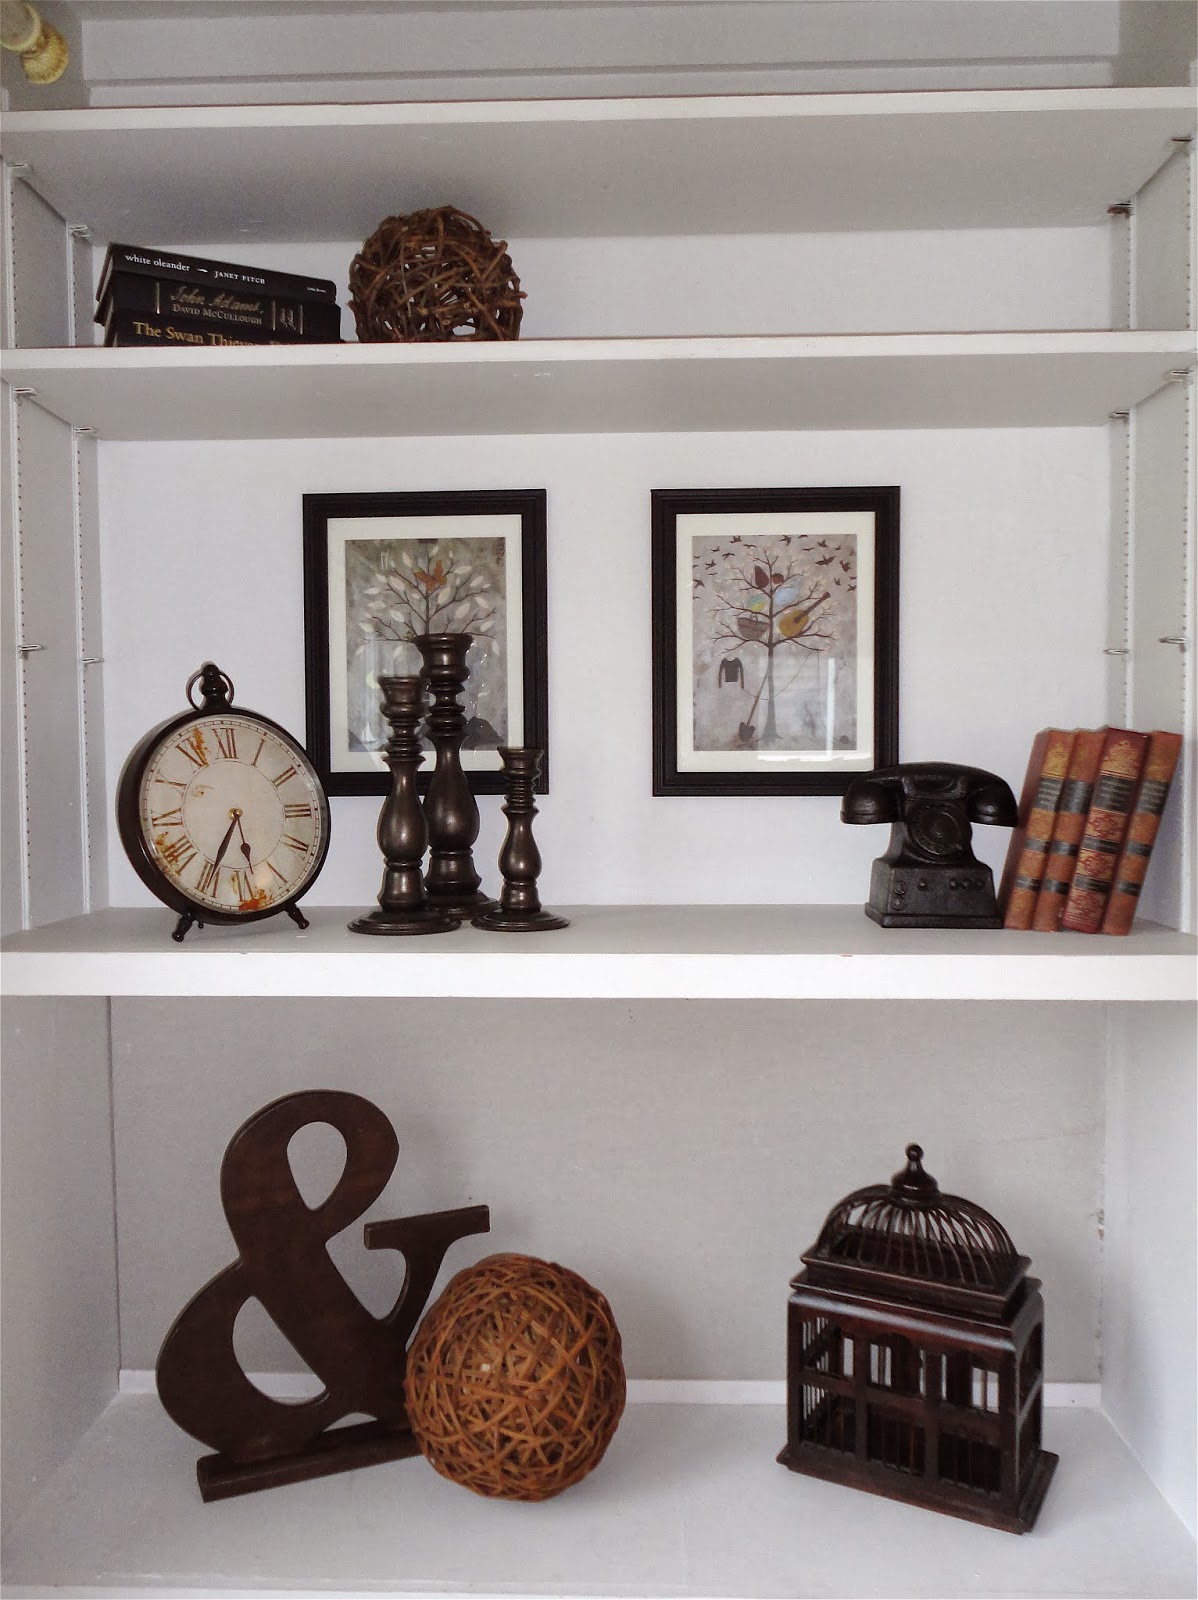
Almost every property I stage has a set of build-ins or bookshelves that could use a little pizzazz.  That means that I'm constantly building my inventory of staging items that I can add to some bookshelves.  One of my favorite places to shop for staging accessories is Goodwill.  Although I don't find something every time I pop in, every once in a while I find something that will work, like these candlesticks (3 for $5)...

These guys were probably OK, as is...

but I wanted to give them a little update with this Metallic Glaze.

After giving them a light sanding, I started applying the glaze.

Since it's a glaze the drying time was pretty long.  I ended up waiting a day between each coat.

Once they were dry, they were ready for a bookshelf.

 I love their shiny, modern feel...not bad for $5 and some paint.


Friday, January 3, 2014

5 Standards in My Staging Toolkit


Carpenters have toolboxes, parents have diaper bags, ladies have purses, and home stagers have a bag full of items for making a home look its best.  My staging bag is filled with all kinds of tools and items that make my job easier and the homes I'm staging look even better.  Here are a few of the items that are staples in my staging toolkit...


Permanent markers, furniture sliders, cleaning supplies, light bulbs, and string.


Cleaning Supplies

When I'm staging a house my number one focus is making it look buyer-ready, and a house is not buyer-ready until it's spotless.  That means that I've been know to scrub out bathroom sinks and shine up the surfaces of a home before my job is done.  No, it's not glamorous, but I'm all about making a home look incredible, and if that means that I have to roll up my sleeves and use a little elbow grease, that's OK with me.


You bet that I was on my hands and knees shining up this floor before the Open House.


Light bulbs

I can't tell you how many light bulbs I go through when I'm staging a house.  It's so important to make sure every room is filled with bright light.  Think about it, it's pretty hard to buy a house if the rooms are dark and dull, right? That's why I carry a huge stash of light bulbs that I can swap out of existing lights (for a higher wattage), or new bulbs for lamps that I'm adding to a space.


Permanent Markers and Shoe Polish

There's not a single staging project that I don't use a permanent marker or some white shoe polish.  That's because they're both perfect for touching up paint on furniture pieces or accessories. It's amazing how quickly an item can be changed from drab to fab with a little permanent marker.


I used a black permanent marker to touch up worn edges of this leaning bookshelf.


String & Twist Ties

I include string and twist ties in my staging toolkit, as well.  They're both great for solving staging problems.  MacGyver had his duct tape and I have some string and twist ties for getting me out of any staging emergency.

Twist ties saved the day on this project when I needed to tie the window treatment's strings up and out of view.


Furniture Sliders

I'm constantly moving around furniture in the homes I'm staging. There's nothing that makes the job easier than furniture sliders.  I also love them because they protect my clients' floors when I'm moving furniture.

Every piece of furniture was moved (thanks to sliders) to showcase the fireplace, large living space, and view in this living room.

As a child, I always loved the way Mary Poppins pulled a coat rack, tape measure, mirror and lamp out of her carpet bag.  Actually, come to think of it, maybe home staging was her true calling.  Sometimes I feel a little like Mary Poppins with my bag full of tricks...if only I could get a mirror to fit inside my staging toolkit!

Friday, December 27, 2013

Lobby Makeover


Recently I updated the lobby of a stunning apartment building at 1625 East Avenue in Rochester, NY.  It was such a fun project!  When I first checked out the lobby at East Ave., I knew that a few little touches and some fresh furniture and accessories would completely transform its vibe.  The space already had great bones - beautiful iron stair banisters, great lighting, and ample space for new furniture.  It just needed some new pieces to turn its current state of ho-hum to its new state of wowzers!

Check out the before and after photos to see how first impressions turned into the springboard for a lobby transformation...  

BEFORE

This area needed some items to add symmetry to the space.


I planned on swapping out the existing furniture to the left of the main hallway for more modern pieces.

I couldn't wait to find a cozy chair for this nook to add a seating area to the lobby.

Overall, my goal was to make the lobby more updated and feel a bit younger.  The lobby is all about first impressions, so I couldn't wait to get shopping to find the elements that would help this lobby make a positive  lasting impression on potential and current renters.


AFTER

A week after my first tour of the lobby, it was time to bring in all the new pieces I had found into the space.  The mirrors went up, the tables went into place, the accessories were added, and a cozy, new leather chair filled in the nook by the window perfectly.  


This project was a blast.  My favorite part was installing all the items.  As we were working, current residents came into the lobby.  It was so fun to hear them gushing about their new home.  There was true pride in the voices.  It's amazing what a little update can do!


If you're interested in calling this lobby your home, give Re/Max Realty Group a call at 585-244-6500.  

Thursday, December 19, 2013

Mirrors, Mirrors on the Walls


One of my latest design projects (updating the furniture and accessories in a beautiful apartment building's lobby on East Avenue) had me on the search for two really large and affordable mirrors.  My goal was to install each mirror between the two brushed nickel sconces on the walls to the left and right of the main hallway.  


The space between the sconces measured over 60 inches - yikes - I needed a lot of mirror.  After looking into custom mirrors ($175/mirror), shopping online ($big bucks in shipping), and stopping at store after store locally (lots of mirrors - each too small or too pricey), I finally stumbled upon two of these guys...


I couldn't believe my eyes...two huge mirrors, in the clearance section, and in a completely hideous gold finish.  The gold finish was especially blinding, but the price...

Perfect!  So, I loaded the mirrors into the car and made a quick stop at Michael's to pick up some spray paint.


I had absolutely no experience using this Brushed Metallic (in Nickel) spray paint, but I figured I'd give it a go.  
BEFORE
Taped off and ready to paint
First coat of spray paint
After a few thin layers of spray paint, I loaded up the mirrors and brought them over to the lobby for install.  I was so excited when the size of the mirrors totally worked and with their new and improved brushed nickel finish...just what the lobby needed!


I'll be sharing all the before and afters in the lobby transformation next week.  Stay tuned!

P.S.  Here's an exterior shot of the building.  Isn't it gorgeous?  If you know anyone looking to rent in Rochester, this is in an ideal location.  You can call Re/Max Realty Group at 585-244-6500.  (Plus I heard that its lobby is looking pretty sweet).